3. How to add products to your store in PrestaShop
This tutorial will show you how to add a product in PrestaShop.
1) Go to Catalog.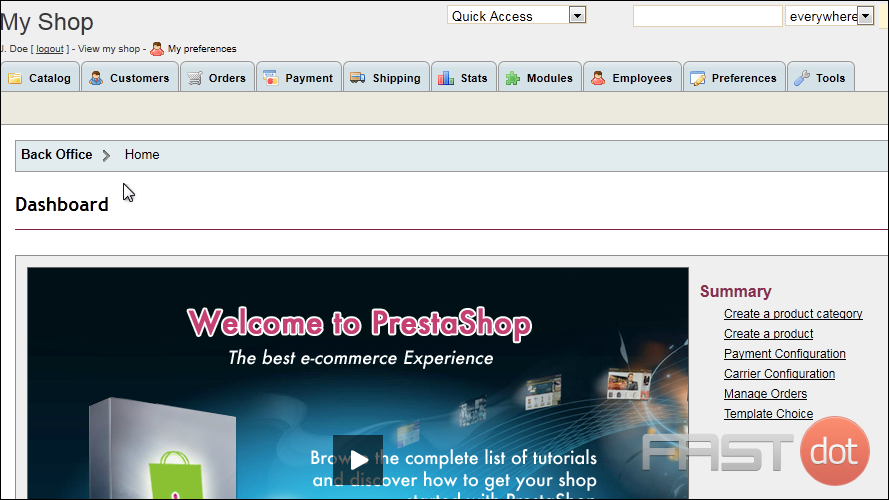
2) Scroll down to products.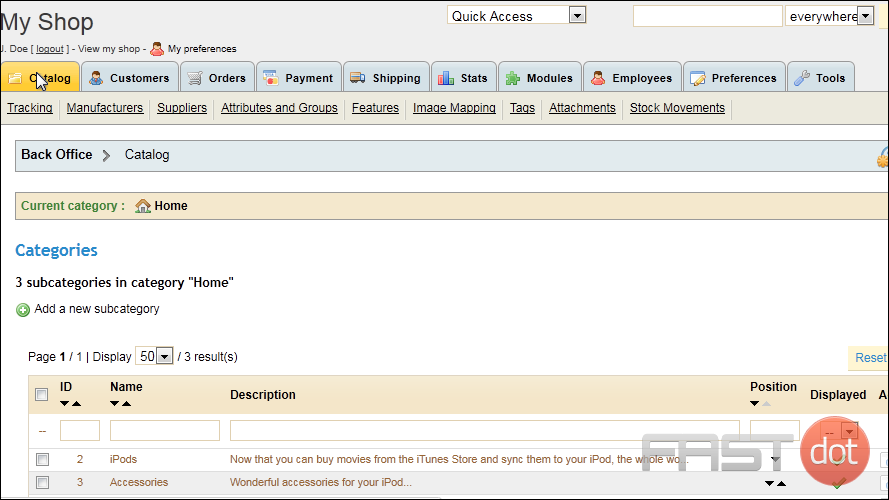
3) Click Add a new product.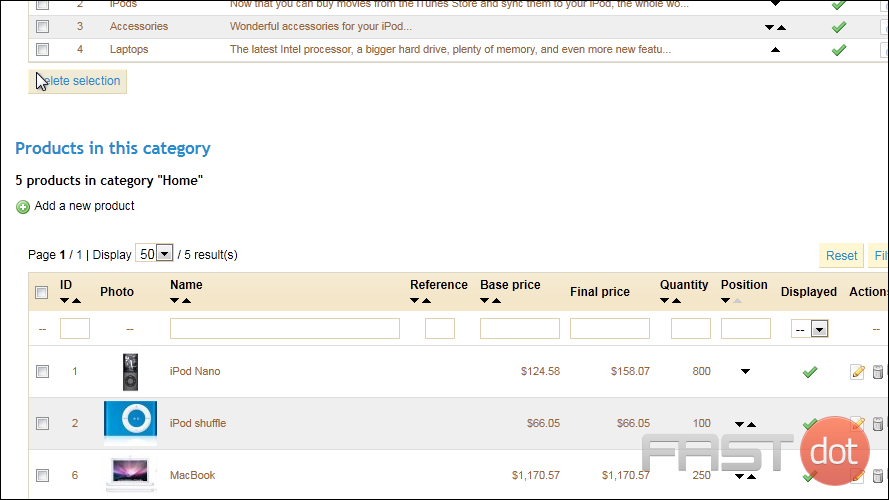
4) Enter the product Name.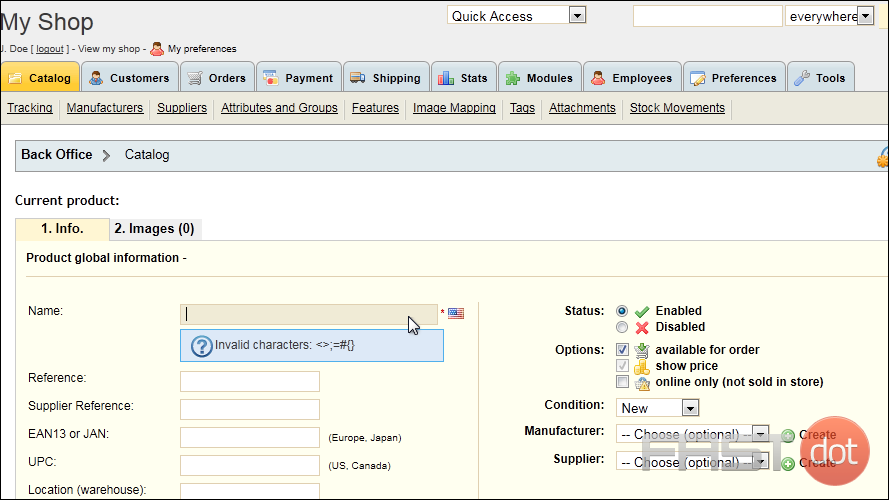
5) Type the UPC here.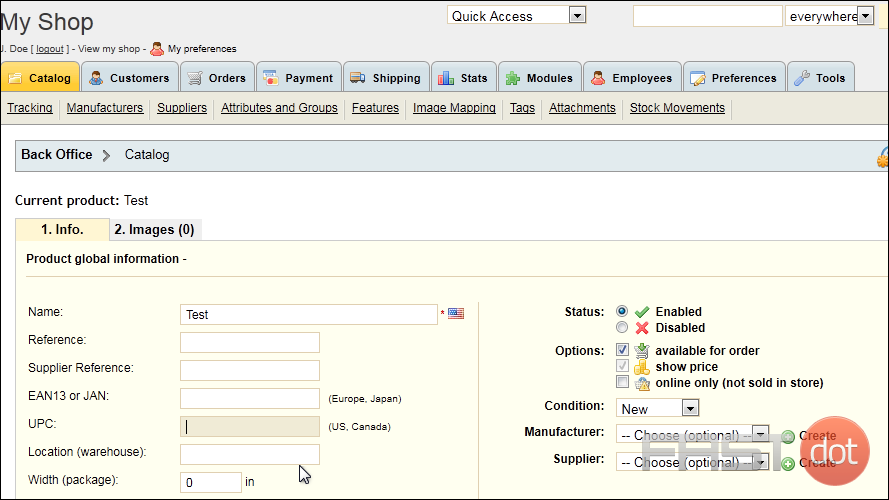
6) Choose the Manufacturer and Supplier from these dropdowns.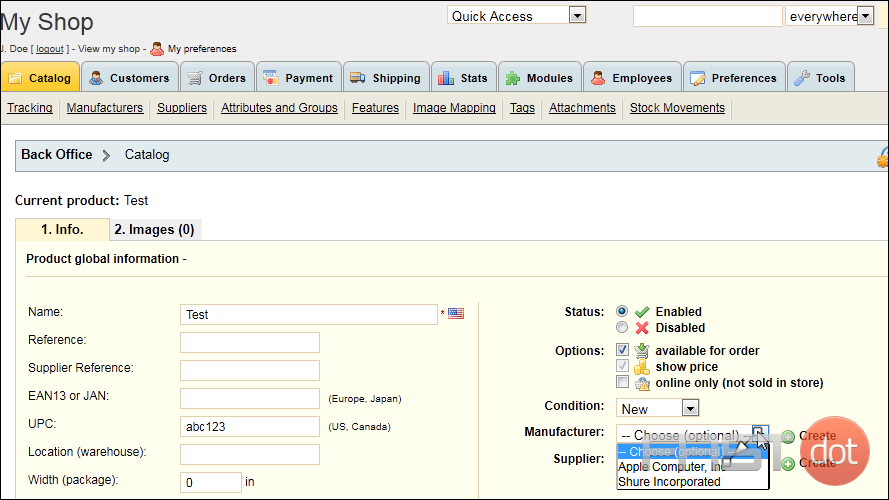
7) Enter the product dimensions in width, height, and depth.
8) Enter the product’s Weight.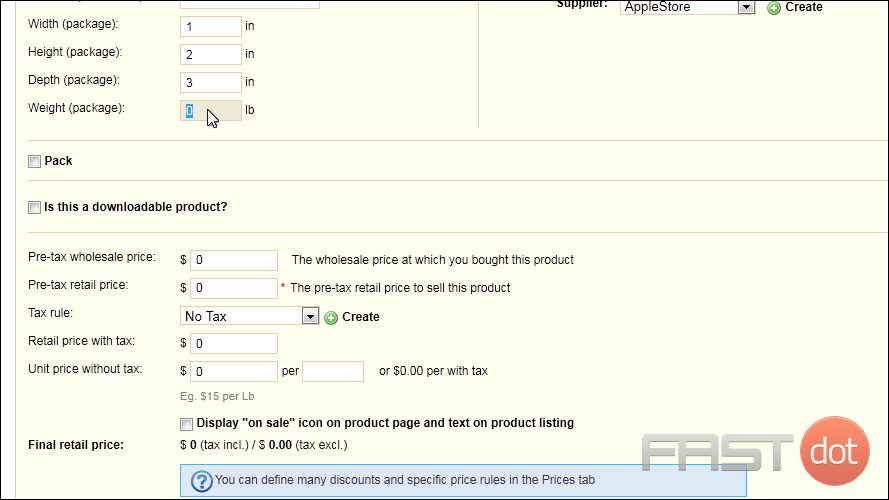
9) Enter the product’s retail price before tax.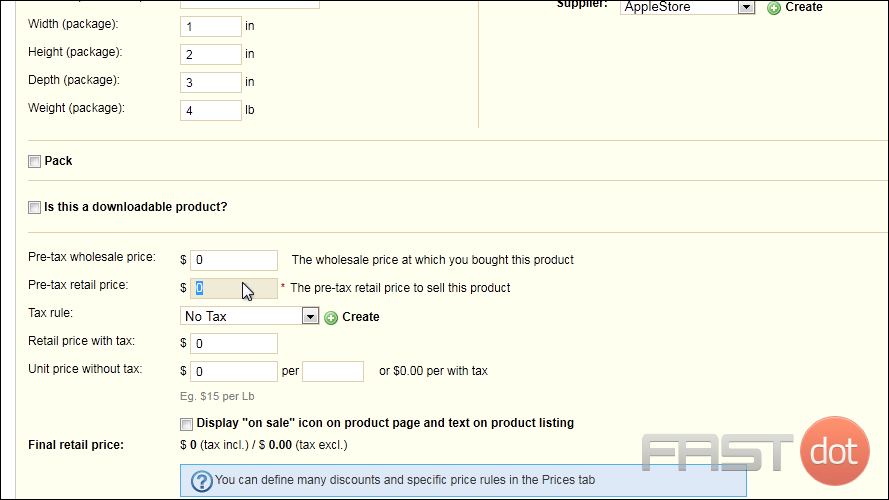
10) Choose the Tax Rule that should be used.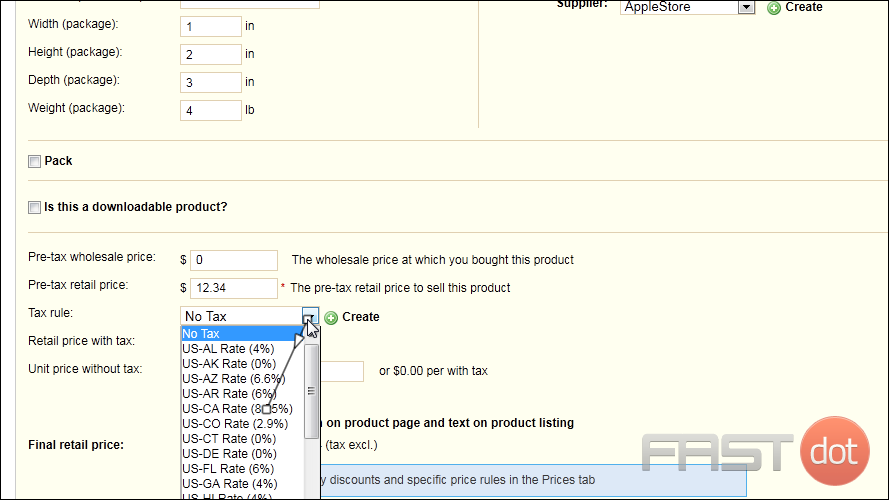
11) Set the Initial Stock.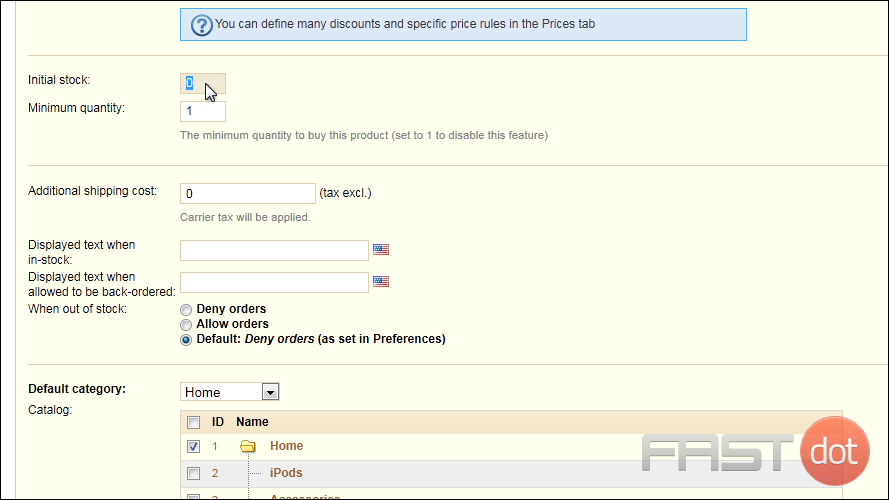
12) Enter the Additional Shipping Cost here.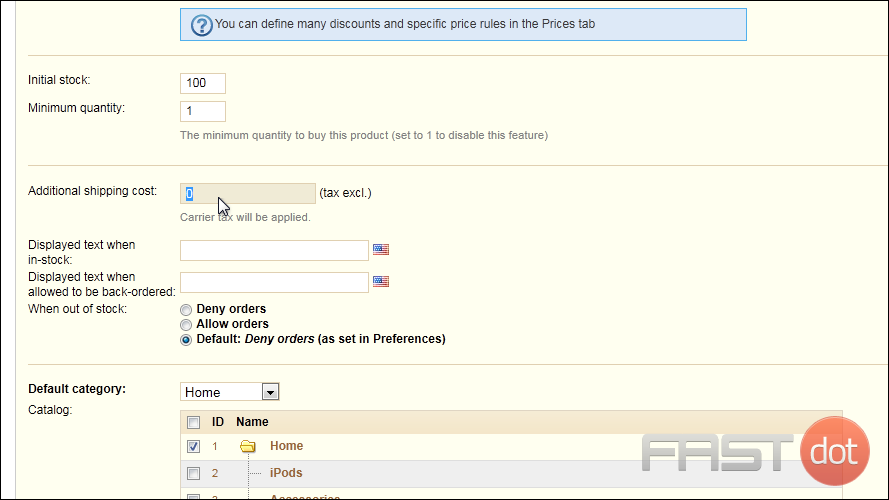
13) Set the default category or select the boxes next to all the catgories where this product belongs.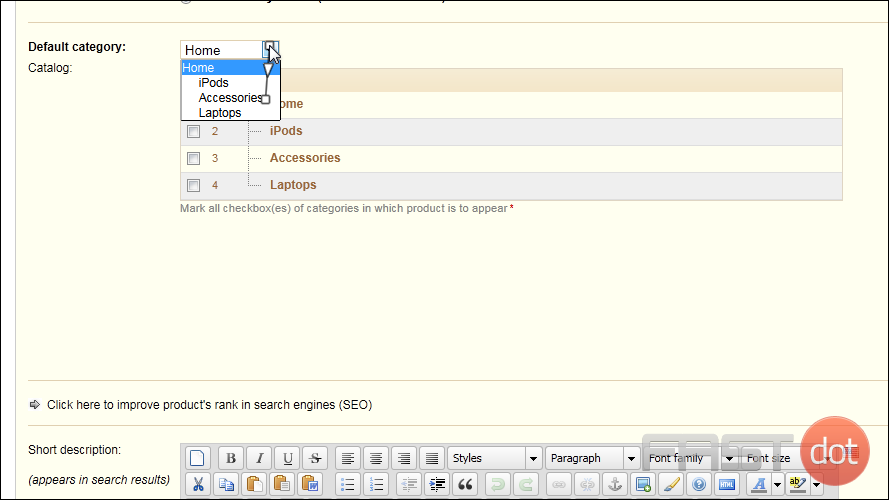
14) Enter a Short Description that will appear in search results.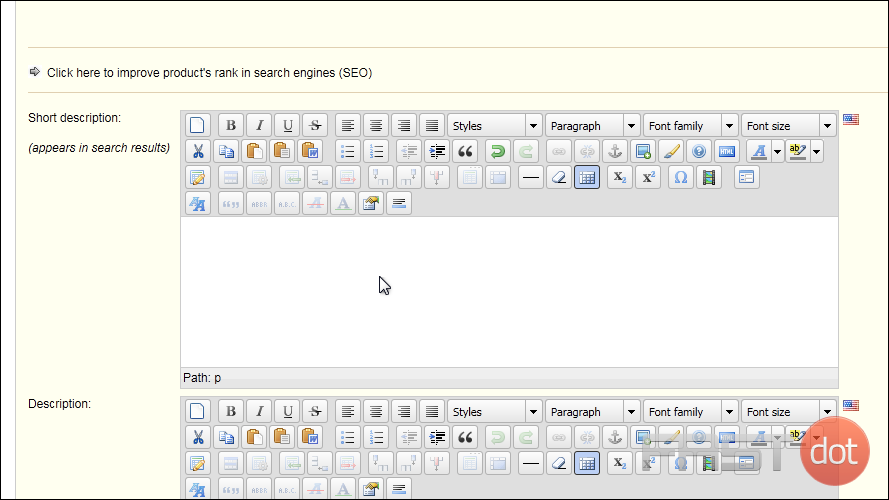
15) Type the product’s full description.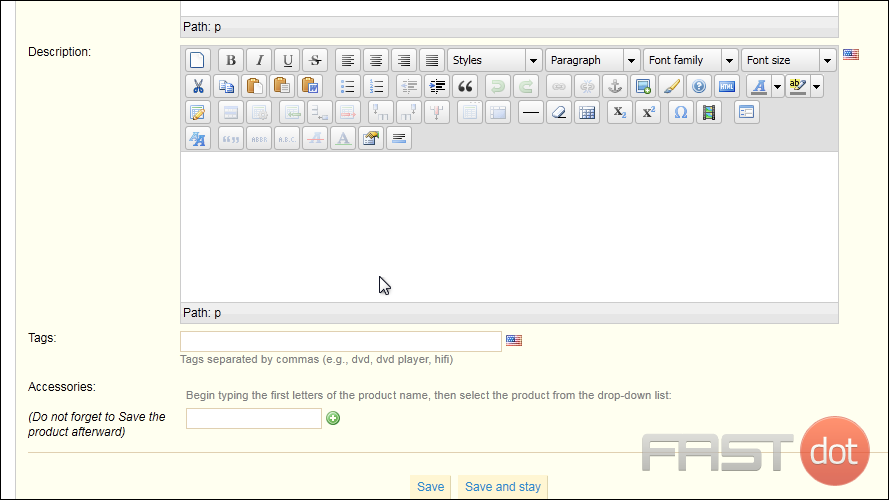
16) Enter Tags separated by commas.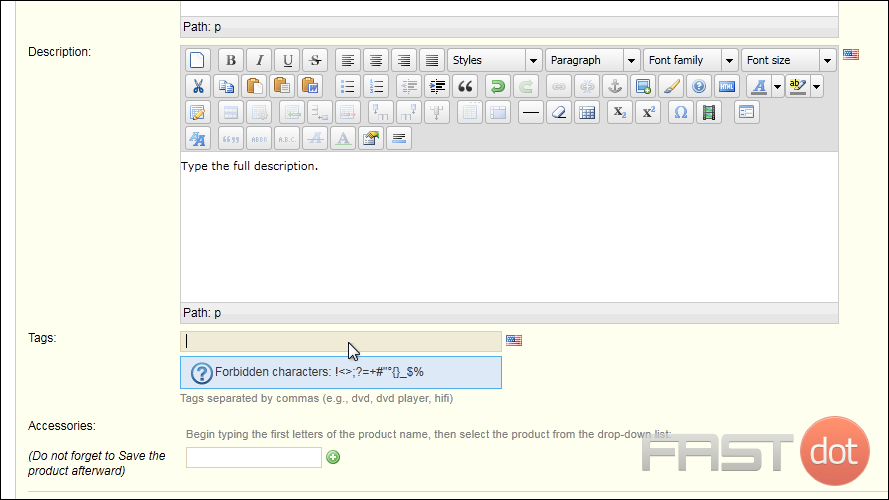
17) Click Save to save the product and return to the main page or Save and Stay to remain on this page.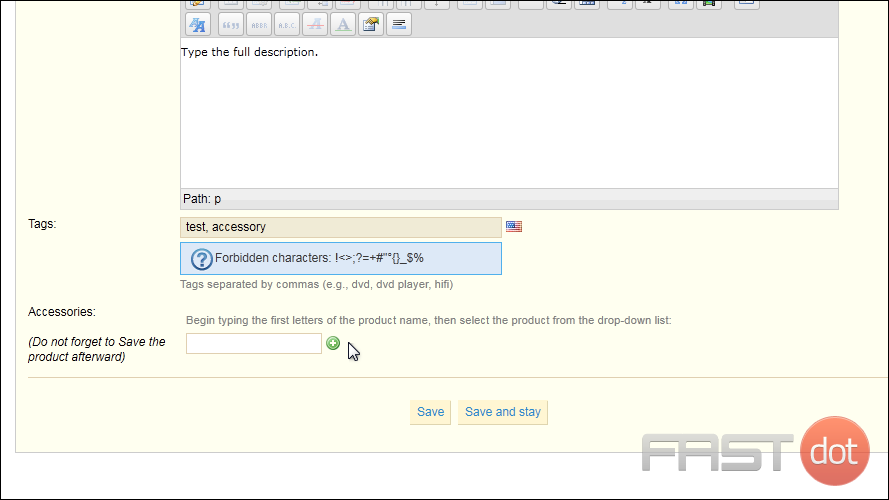
18) Scroll back up to the top of the page.
19) Click the Image tab.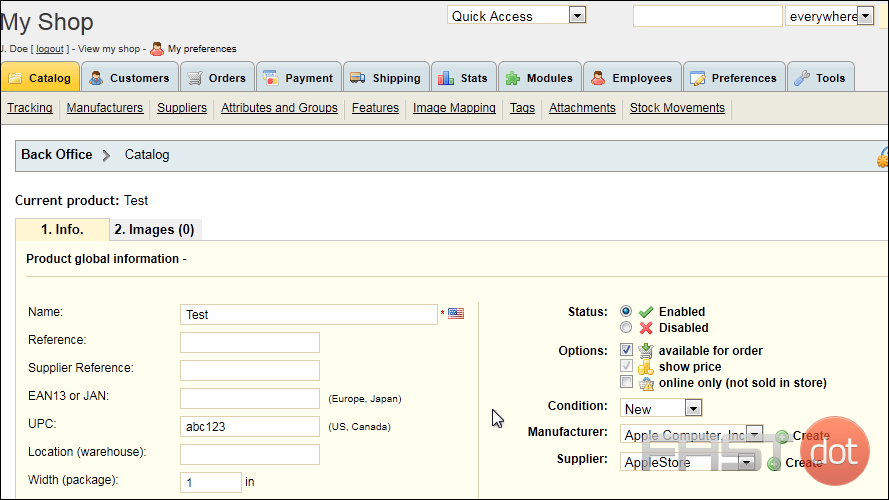
This is where you can upload images for your product.
20) Click Browse.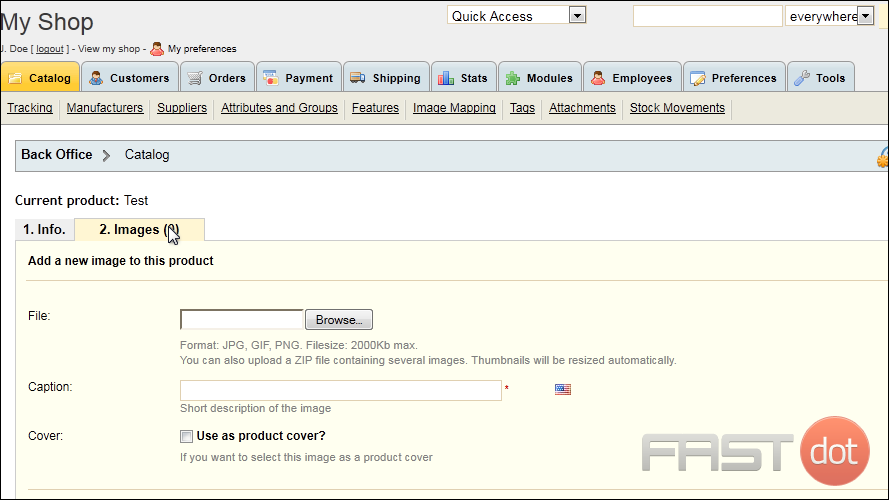
21) Select your image and click Open.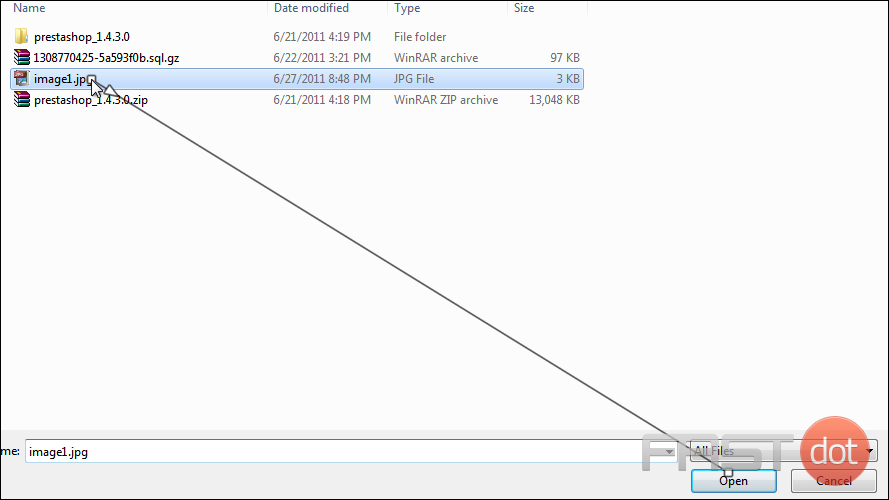
22) Type a short description for the caption.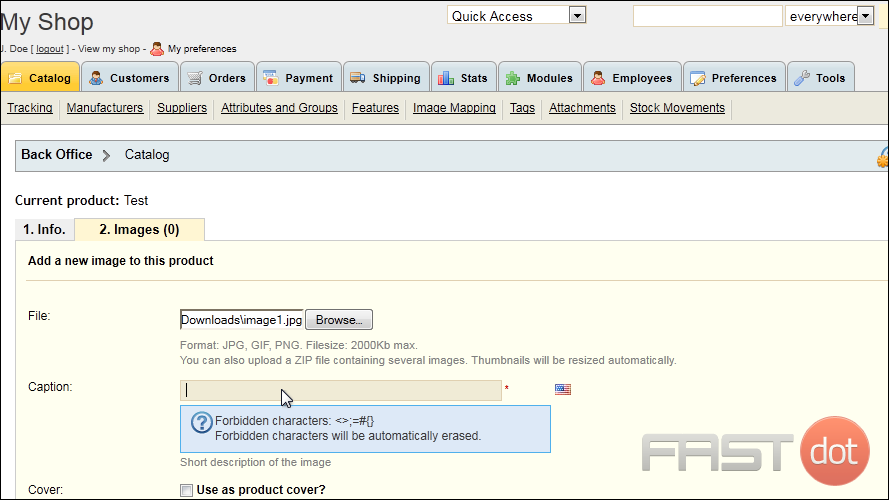
23) Click Save.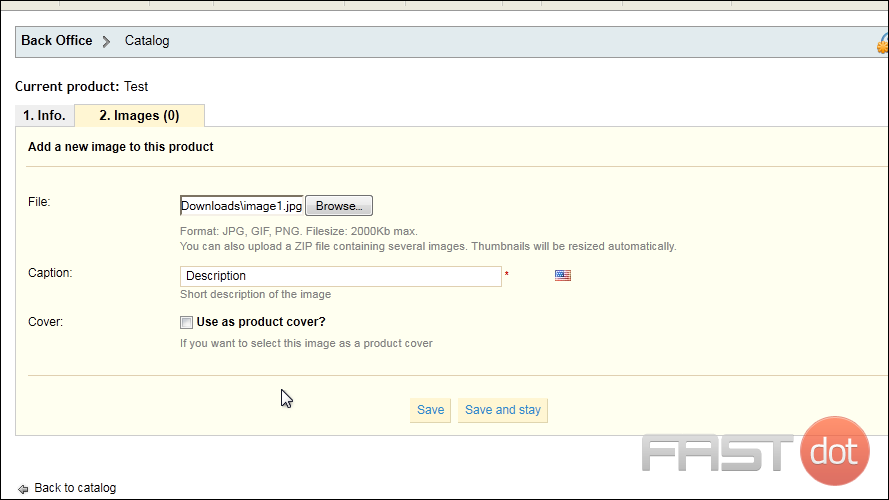
That’s it! Now you know how to add a product in PrestaShop.
How to Add Products to Your Store in PrestaShop
Step 1: Access the Products Section
- Log in to your PrestaShop admin panel.
- In the left-hand sidebar, navigate to Catalog and then click on Products.
Step 2: Add a New Product
- Click on the Add new product button at the top right corner.
- You will be taken to the product creation page where you can fill in all the necessary details for your new product.
Step 3: Fill in the Basic Information
- Name: Enter the name of the product.
- Type: Select the type of product you are adding (e.g., Standard product, Pack of products, Virtual product).
- Description: Enter a detailed description of the product. Use the text editor to format the text and add images or videos if necessary.
- Short Description: Provide a brief description that will appear on the product listing page.
Step 4: Set the Price
- Navigate to the Price tab.
- Retail Price with Tax: Enter the final price of the product, including taxes.
- Price (tax excl.): Enter the price of the product without taxes.
- Tax Rule: Select the appropriate tax rule for the product.
- Unit Price: Optionally, enter the unit price (e.g., price per kilogram or litre) if applicable.
Step 5: Manage SEO
- Navigate to the SEO tab.
- Meta Title: Enter a meta title for the product to improve SEO.
- Meta Description: Enter a meta description for the product to appear in search engine results.
- Friendly URL: Specify a user-friendly URL for the product page.
Step 6: Add Product Images
- Navigate to the Images tab.
- Click on the Add files button to upload images of the product.
- Select the images from your computer and click Upload files.
- Arrange the images in the desired order, and select the main image that will appear on the product listing page.
Step 7: Set Product Combinations (if applicable)
- Navigate to the Combinations tab if your product has different variations (e.g., sizes, colours).
- Click on the Add new combination button.
- Select the attributes and values for this combination (e.g., Size: Large, Color: Red).
- Set additional information such as reference, impact on price, and stock quantity.
- Click Save and Stay to add the combination.
Step 8: Configure Shipping Details
- Navigate to the Shipping tab.
- Weight: Enter the weight of the product.
- Additional Shipping Fees: Enter any additional shipping costs if applicable.
- Carrier: Select the carrier options available for this product.
Step 9: Manage Quantities
- Navigate to the Quantities tab.
- Quantity: Enter the available stock quantity for the product.
- Minimal Quantity: Set the minimum quantity that can be ordered.
- Stock Availability: Configure stock availability settings such as allowing orders when out of stock.
Step 10: Set Associations
- Navigate to the Associations tab.
- Categories: Select the categories this product belongs to.
- Default Category: Choose the default category for the product.
- Related Products: Optionally, add related products to suggest to customers.
Step 11: Configure Customisation Options (if applicable)
- Navigate to the Customization tab.
- Add custom fields if the product requires customer input (e.g., engraving text, custom messages).
- Set the number of file fields and text fields needed.
Step 12: Add Specific Prices (if applicable)
- Navigate to the Specific Prices tab.
- Click on the Add a new specific price button.
- Configure specific price rules for different customer groups, currencies, or order quantities.
Step 13: Activate the Product
- Navigate to the Basic Settings tab.
- Change the Status toggle to enable the product.
- Click Save to finalize and publish the product.

